Buying a Bathroom Basin Tap for an international project involves more than choosing a polished finish. Water pressure, basin depth, installation standards, and replacement access can vary sharply between countries. A tap that performs well in a London apartment may disappoint in a rural hotel with unstable pressure.
Richard Grohe, a long-time bathroom fittings executive, once said, “A tap must serve people before it serves fashion.” That principle remains useful. Global buyers should examine the cartridge, body material, aerator, connection size, and tested flow rate. Brass or stainless steel can offer dependable durability, but the exact grade still matters. A beautiful surface may also show fingerprints, scratches, or limescale within weeks.
This guide, “10 Bathroom Basin Tap Buying Tips for Global Buyers,” focuses on practical decisions rather than showroom appeal. It considers basin compatibility, hot and cold water systems, deck-mounted and wall-mounted designs, finish maintenance, packaging, warranty support, and spare-part availability. These details often decide whether a project runs smoothly or becomes an expensive correction.
Small details matter.
Buyers should also request technical drawings, test reports, and clear installation instructions before placing large orders. Regional certifications must be checked with qualified local professionals, because requirements are not identical worldwide. Even experienced purchasers can overlook thread sizes or servicing space. That is an uncomfortable lesson, but a valuable one.
A reliable Bathroom Basin Tap should feel stable, operate smoothly, resist daily wear, and remain serviceable years later. Style matters, but performance earns trust.
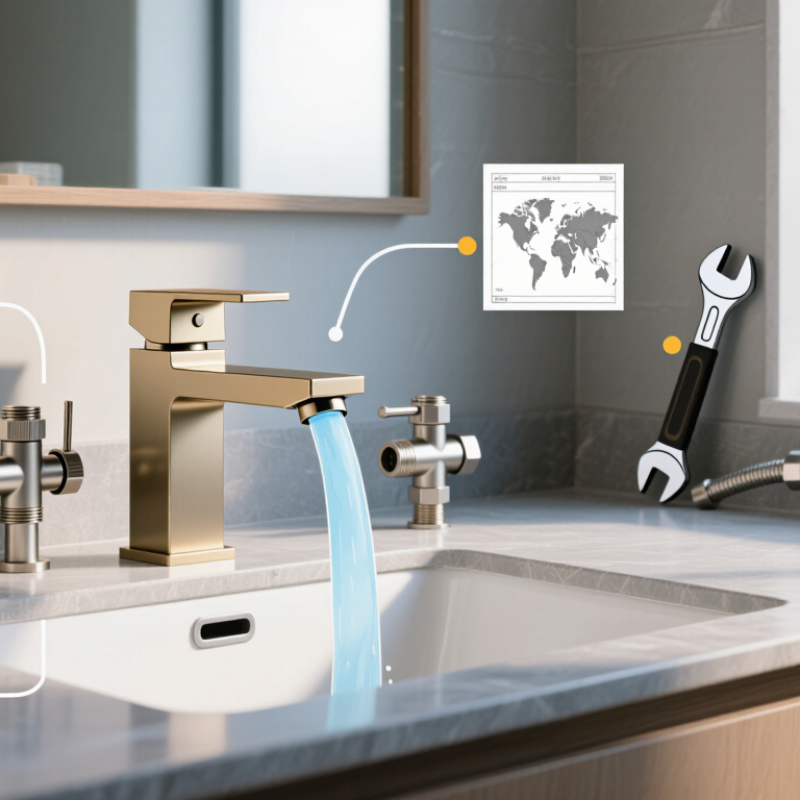
Choosing the right basin tap starts with identifying the basin’s design and fixing points. Single-hole taps suit basins with one central opening. Centerset models fit compact three-hole layouts. Widespread taps need separate openings for the spout and handles. Wall-mounted taps require concealed pipework and accurate wall support. Vessel basins often need a taller tap body. Measure twice.
The tap type must match the installation space. Before ordering, check the number of basin holes and their spacing. Measure the deck thickness beneath the basin. Confirm the supply connector size, hose length, and available clearance. Flexible hoses should bend gently, not press against cabinet walls. Wall-mounted models also need the correct outlet height. A low outlet can splash water, while a high outlet may feel awkward.
Water pressure matters too. Some homes have gravity-fed systems with modest pressure. Other properties use stronger mains pressure. Check the tap’s operating range and local plumbing requirements. During site checks, I also inspect drain alignment and handle clearance. A catalogue photo can mislead. I once underestimated the space needed behind a widespread tap, forcing a small redesign. That mistake was avoidable. For global projects, ask a qualified installer to verify thread standards, basin compatibility, and regional connection requirements. Keep the installation instructions accessible, because apparently they disappear exactly when needed.
| No. | Buying Dimension | Tap Type or Specification | Typical Dimensions / Technical Data | Installation Requirements | Global Buyer Checkpoint |
|---|---|---|---|---|---|
| 1 | Identify the Mounting Type | Deck-mounted basin tap | Installed through one or more holes in the basin, countertop, or vanity. Common single-hole bodies use one central opening. | Confirm the number of pre-drilled holes and the permitted hole diameter in the basin or countertop installation guide. | Choose a deck-mounted model for most countertop, inset, and pedestal basin layouts. |
| 2 | Compare Wall-Mounted Options | Wall-mounted basin tap | Usually supplied with separate hot and cold connections or a concealed mixer body. Spout projection commonly falls around 150–220 mm, depending on the design. | Requires water outlets positioned inside the wall and a finished-wall depth compatible with the concealed or exposed valve body. | Verify the basin rim position so the water stream reaches the bowl without splashing. |
| 3 | Select the Control Format | Single-lever mixer | One handle controls temperature and flow. It generally needs one mounting hole and two flexible supply connections. | Leave enough clearance above and behind the handle for operation and cleaning; check that hot and cold supplies are connected correctly. | A practical choice where users want simple temperature adjustment and fewer countertop holes. |
| 4 | Check Traditional Hole Layouts | Two-handle or three-hole tap set | Two-handle sets normally use separate hot and cold inlets; three-hole sets typically include two handles and a central spout. | Measure the hole spacing before purchase. The center-to-center distance must match the basin or countertop drilling pattern. | Do not assume hole spacing is universal; regional products may use different layouts. |
| 5 | Match the Basin Height | Low-, medium-, or high-rise spout | Measure spout height from the mounting surface to the outlet and spout reach from the tap centerline to the water outlet. | The outlet should discharge into the basin rather than onto the rim. Allow sufficient space for hand washing without contacting the basin. | High-rise taps are often suited to countertop bowls; low-rise taps are commonly used with integrated basins. |
| 6 | Verify Connection Standards | Flexible hoses and inlet fittings | Common connection sizes include G3/8 and G1/2 threads, but thread standards and hose lengths vary by market. | Confirm inlet thread type, hose length, washer arrangement, and available space below the basin before ordering. | Use the local plumbing standard or an approved adapter; do not force incompatible threads together. |
| 7 | Check Water Pressure | Standard mixer or low-pressure-compatible tap | Many basin mixers operate across approximately 0.5–5 bar, but the exact minimum pressure depends on the product design. | Compare the tap's minimum and maximum pressure ratings with the building's static and operating pressure. | Low-pressure or gravity-fed systems may require a specifically compatible tap; pressure ratings should be stated in the technical sheet. |
| 8 | Evaluate Flow Control | Water-saving aerator | Common basin-tap flow rates are approximately 4–8 L/min at the stated test pressure; actual flow varies with pressure and aerator design. | Ensure the aerator can be removed for cleaning and that the outlet does not restrict flow below the user's practical needs. | Compare flow rate at the same pressure because ratings from different test conditions are not directly equivalent. |
| 9 | Confirm Drain Compatibility | Pop-up, click-clack, or waste-free configuration | A basin tap may be supplied with a mechanical waste, a push-button waste, or no drain assembly. Basin waste sizes vary by region and basin design. | Check whether the basin has an overflow hole and select an overflow-compatible or non-overflow waste accordingly. | The tap, waste, trap, and basin should be checked as one complete drainage system. |
| 10 | Review Compliance and Maintenance | Certified materials and serviceable construction | Look for potable-water suitability, corrosion-resistant metal components, replaceable seals, accessible cartridges, and documented test standards. | Follow the applicable local plumbing, drinking-water, backflow, and installation requirements. Flush supply lines before final connection. | Request installation instructions, spare-part information, warranty terms, and cleaning guidance before placing a global order. |